

HP Live
Challenge
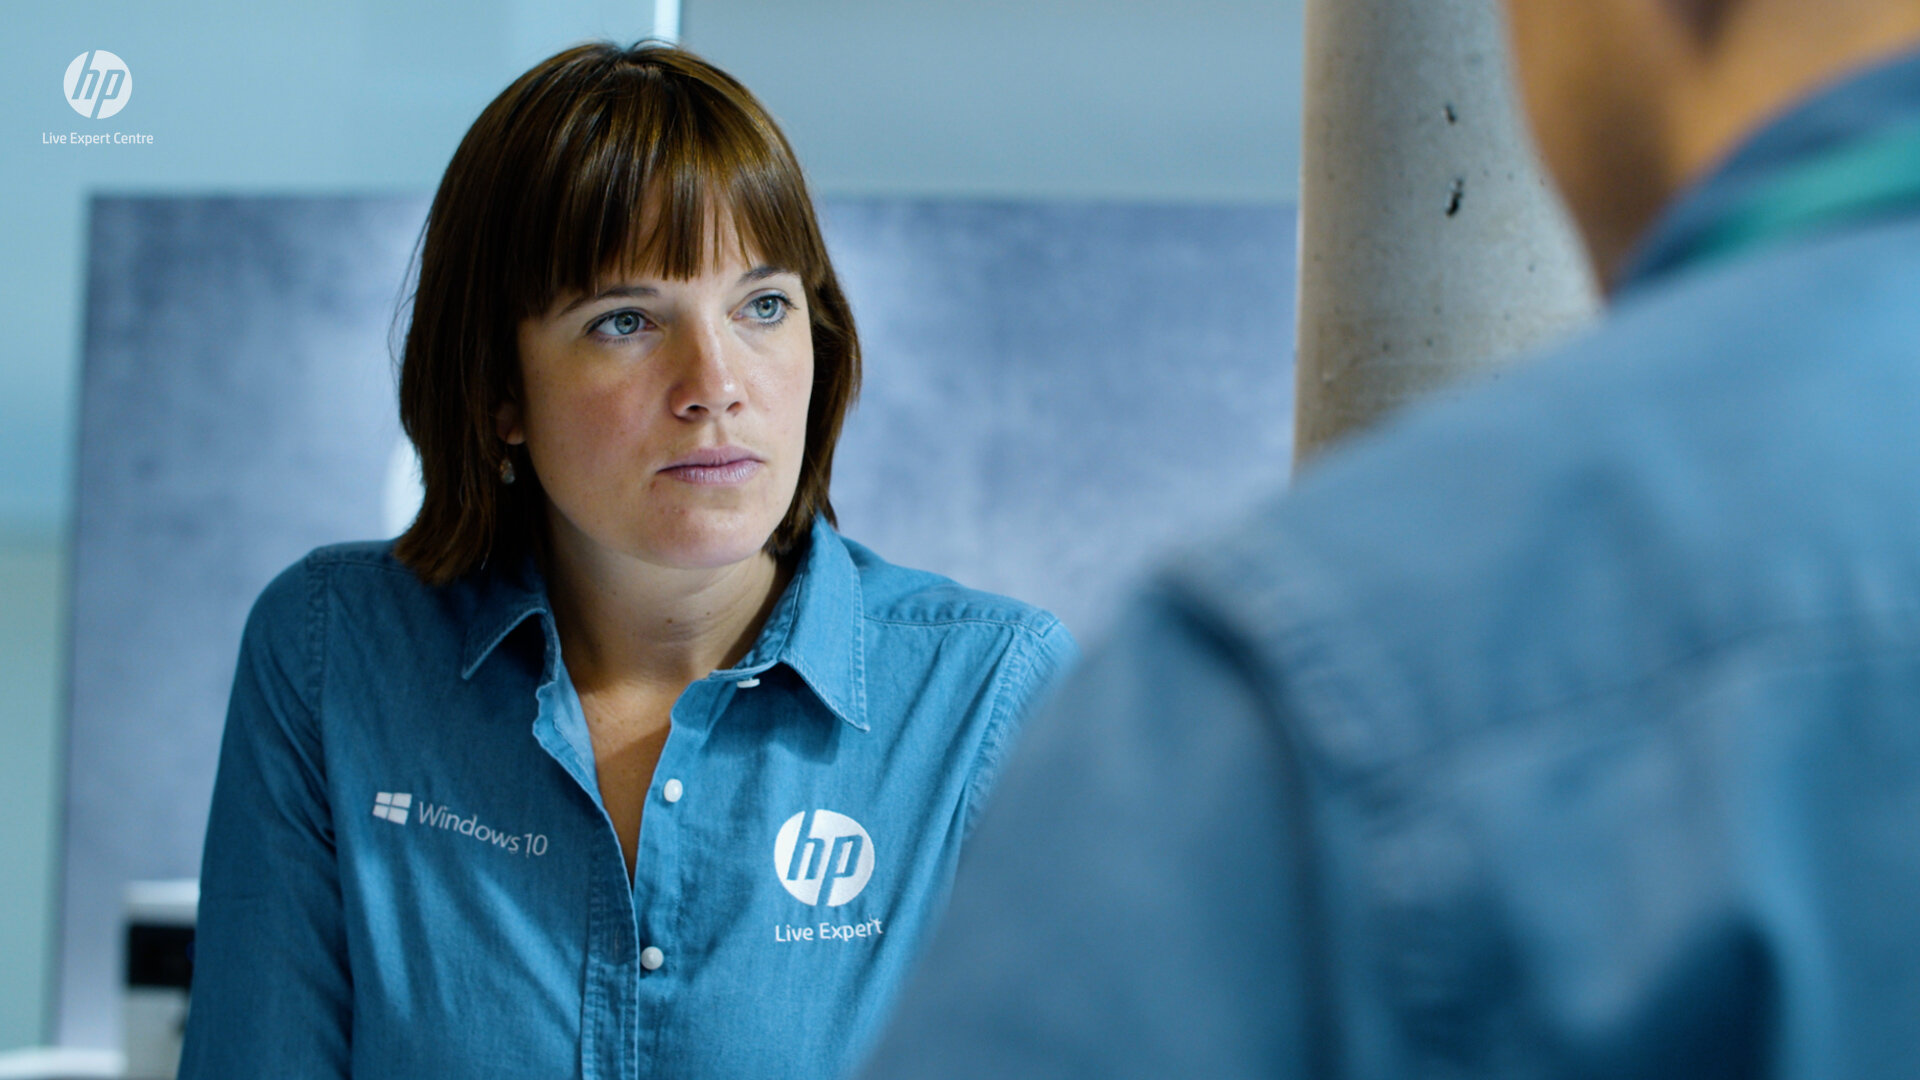
HP challenged ISI Global to produce a live capture video to showcase the new HP Live service located in Barcelona, Spain. The space, also designed and fitted by ISI Global, features an online service of HP experts who cater for the needs of their customers by holding live demos and streaming sessions.
Solution
As a team we initially developed a storyboard to define the story and script, After receiving sign off on the direction we developed a detailed shot list to ensure our keyframes were captured on the day of filming. Due to travel restrictions during the global pandemic we were unable to attend on set which made the shoot particularly challenging to direct and quality control. However our videographers were briefed in on what was required and captured the shots as requested. To aid this process along with the shot list and storyboard a series of styleframes were designed to share the overall art direction and look and feel we were after.
PRODUCTION
The footage was shot across one day and edited together by myself using Premiere Pro over the course of one week. The footage was initially supplied as LOG footage which we requested to ensure maximum control over the colour bit depth information so we could finesse the colour correction and grade.
To begin the process I produced a rough cut to get initial sign off on the direction and flow of the sequence. This was lightly edited to include the keyframes and shots to define the flow of the video. This was quickly signed off allowing me to progress on the first edit. Once the sequence was set I started by slowing the footage down to 50% as the footage was originally captured at 60 fps. It was important to tackle this step first to ensure the cuts were in the right places. The higher frame rate and slow movement gave the footage smooth action. To ensure all footage was as smooth as possible I then added stabilization on top to the clips that needed it.
COLOUR CORRECTION
Once the edit was refined I began colour correcting all of the footage. Using Lumetri Colour I first analysed each clip’s colour information using the waveform RGB scope. I could then see what the red, green and blue channels were doing and if anything was peaking. I controlled the shadows, midtones and highlights by using the coulour wheels. This allowed me to even out the colour distribution and apply a corrected base for further colour grading on top. I applied contrast to the master grade to make each clip pop. This was controlled by manipulating the curves for the white, red, green and blue channels. Whilst correcting the footage I used the Vectorscope YUV to keep the colours within the safe zone to prevent any colour peaking.

The LOG footage provided me with a clean flat base to colour correct the footage. Shooting in RAW allowed me to really focus on the details when colour correcting the footage and develop a consistent correction across the sequence as a whole. I refrained from adding a grade to the footage as I wanted to keep to a more natural as possible look and feel. See the before and after below.
MOTION GRAPHICS
Throughout the video we included short and simple motion design to cover points mentioned in the script. The artwork was initially designed within Illustrator so that the vector assets could be preserved within After Effects. I then animated the assets within 3D space to give parallax motion the scenes. I applied trim paths to the line work and simple code injection to the rotating glyphs to ensure the animation responded correctly and stayed in one place.
audio
All dialogue was processed through Adobe Audition using EQs and compression to level out the waveform. Each speaker had used different audio recording hardware which presented a real challenge when attempting to correct the recordings and find some common ground between them. For the background music I used Audition to loop the track seamlessly and adapt it using the remix tool. This enabled me to state the time the track would end so that it would finish at the same time as the end shot in the video. It’s always best to avoid fade outs as these appear unprofessional. Whereas adapting the track so that it ends on the last frame makes it feel more premium and bespoke.
CHALLENGES
The global pandemic certainly played a big part in delivering us challenges to overcome during this project. Due to being unable to travel to shoot and direct this video and also not being able to use just one videographer to film - quality control over the footage was particularly difficult. I’d much prefer to work with one team of dedicated videographers so that we can carefully manage the quality and stick to one output using the same equipment and cameras. Also the speakers on film were in lockdown during the time and couldn’t make it on set which meant their parts had to be shot in isolation, from home using their own equipment.
The software used to produce this animation involved, Photoshop, Indesign, Illustrator, Premiere Pro, After Effects and Audition.